

What's involved in repairing a book?
People often ask for an indicative quotation for book restoration which makes absolute sense. However, each book is unique with a unique set of circumstances so it is tricky to give a precise quote. In this blog I will try to outline the basic process which applies to each book in order to give an outline of what is involved.
Appraising what needs to be done
The first, and most important, thing to do is to work out what needs to be done before going anywhere near a scalpel. There are often inscriptions on the inside covers or fly leafs. In this case it is important to ensure that any repair maintains the integrity of this. It may also be that there is some interesting information on the spine liner etc. which is worth keeping. I once made a book mark for a client from the newspaper stuck to the spine. It is also important to identify whether the book is hollow-backed, is backing or not etc. Finally, the degree to which the book block is still intact is crucial.

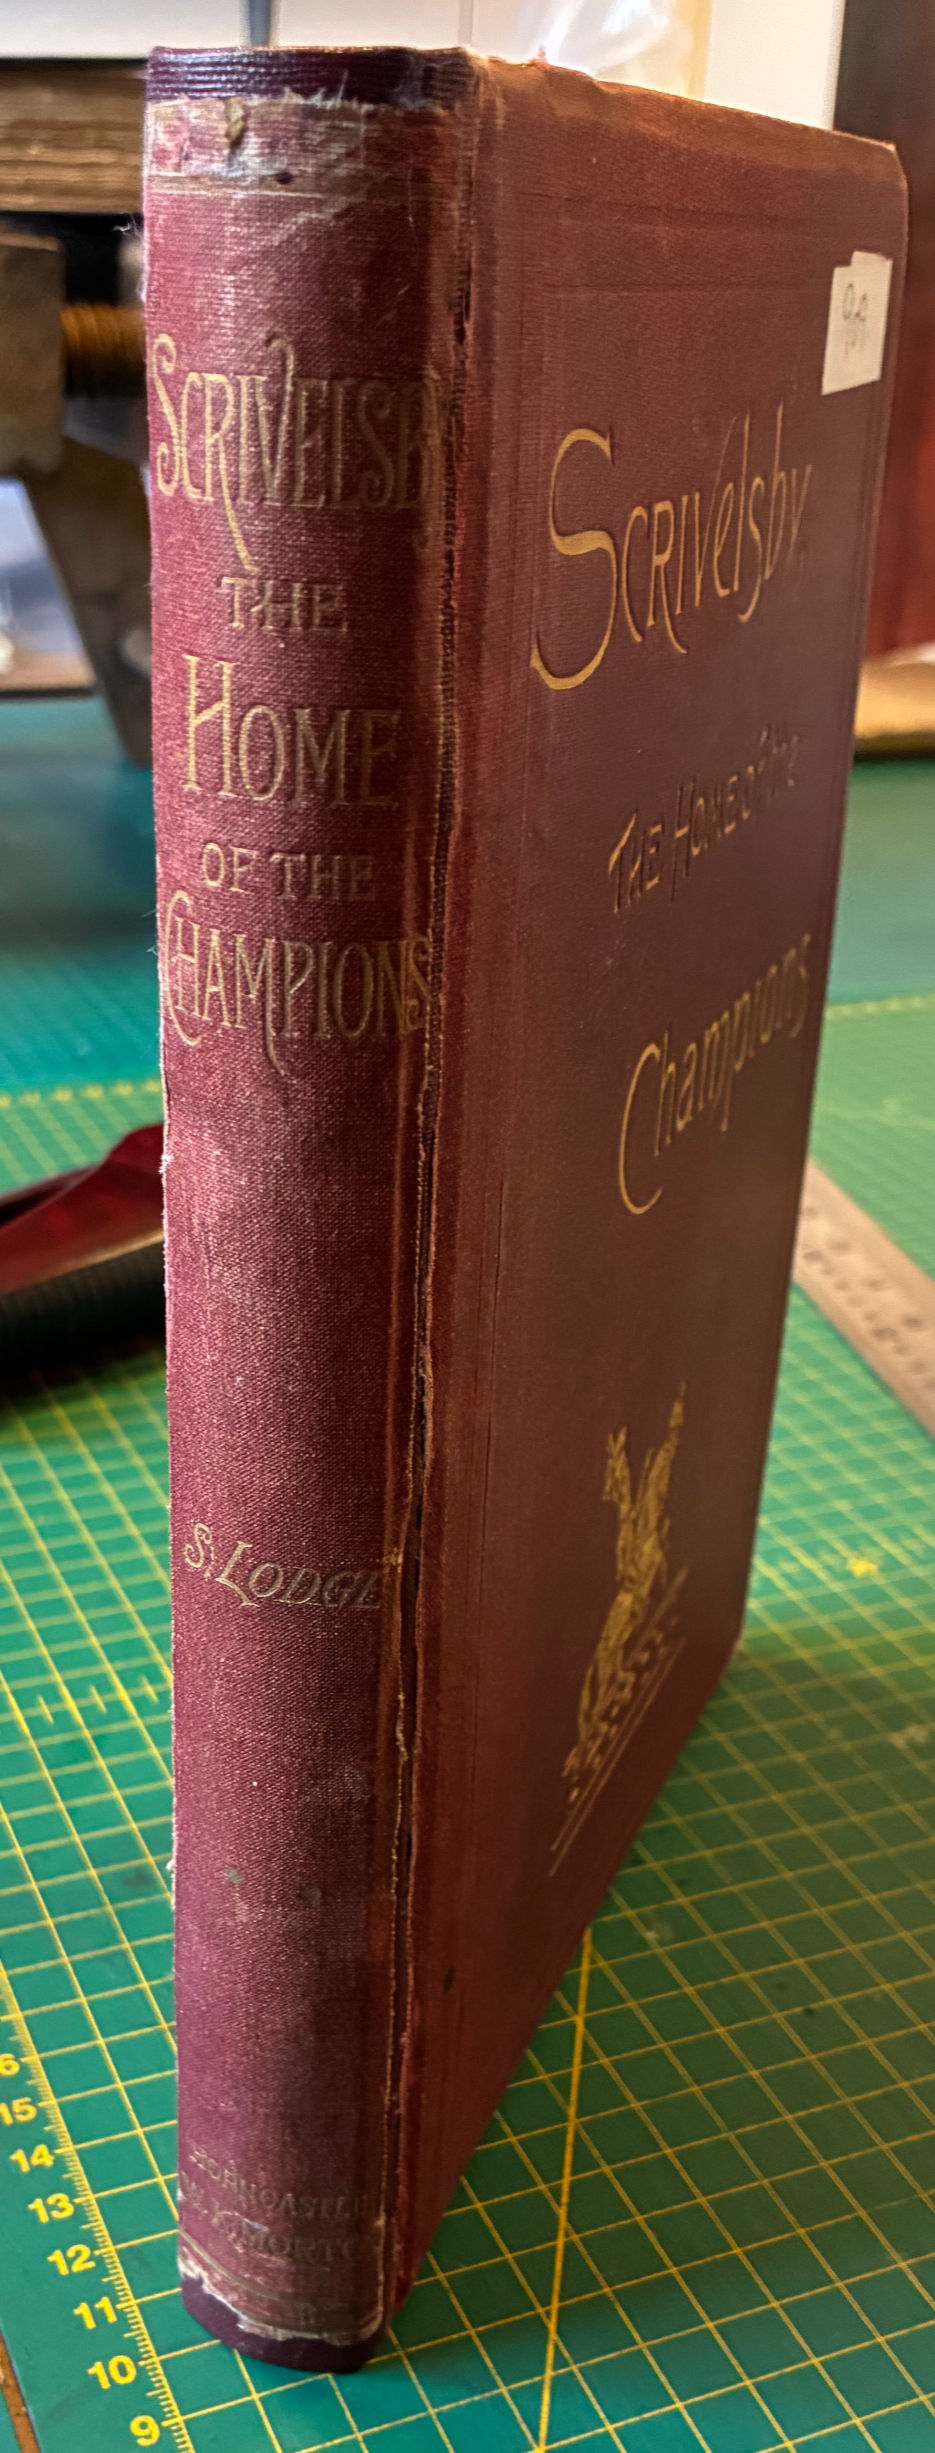
Fig 1 shows a book from Horncastle Heritage Society which I have worked on recently and which demonstrates the most common fault of cloth covered books. This one dates from 1894 but a similar fault occurs in many books from around the turn of the 19th to 20th century up to around 1920. The spine is virtually off and the covers are only held on with perished mull; often the covers are off completely.
If the spine is off completely, there is often damage to the folded edges of the signatures which in turn leads to the front and back pages of each signature coming loose. The glue is also often dried out meaning the block has become loose.
Repairs to the backs of signatures can add several hours work to the quote. In this case though the book has been caught early, and there was only limited damage.
Taking off the covers
As this was a straightforward repair, I took the spine off and then the covers, keeping as straight an edge as possible for later. This allows access to the spine for repairs and strengthening it. (see Fig 2)

Cleaning back the spine
The old spine liner, mull and glue now needs to be removed. This is a slow job as it is important to not damage the backs of the signatures or disturb too much of the sewing (if the book isn't to be re-sewn).
The glues that are used need different methodologies. If it is a water based starch paste that was used then wetting the spine liner will really help or using some paste. Animal glues have often gone very brittle and these are best prised off.
Sometimes you get a fascinating insight into the period when the book was being bound as they often used old newspapers and scrap paper for the spine liner.
The pictures show the spine being cleaned back, the completed cleaned spine, the new tapes and calico added and finally the new spine liner on.
Re-forming the spine
Once cleaned back, the spine is reglued several times. As the old cords to which this book is sewn have all broken, I have added new tapes to form a strong hinge and also some new calico.
If there were headbands and page markers in the original book these are added at this stage. In this case that wasn't necessary.
Working on the boards
Once the book block is repaired, the boards need repairing. Everything (Tapes, calico and new cloth) all go underneath the cloth, so that needs carefully paring back using a paring knife. I try to go back to an existing line on the cover as that can help to hide the slight bump you get where the new materials are underneath the cloth. In this case, I went back to the embossed line. Sometimes there isn't anything there so I just go under about an inch. It is also necessary to pare back the cloth on the inside so that I can fold my new cloth underneath to make a neat new end with my new cloth at the head and tail of the book.
You can see that this book had a chamfer on the edge of the boards which made it slightly trickier as the paring knife is moving upwards, making it more likely it will go through the cloth. Care needs to be taken to avoid this.
I also shave about 0.5mm off the edge of the board so I have somewhere for my new cloth to sit as it goes around the edge of the board.
Re-attaching the boards
It is now finally time to put the boards back on. I spend quite a while ensuring the boards and bookblock are lined up again. I have noticed that books that I am repairing are more likely than not to be bound slightly off line which is possibly why the boards split as there is uneven pressure on the spine cloth. Where I can I try to recover the alignment, but sometimes it isn't possible without completely pulling the book and resewing.
When I put tapes on that were not there before, I cut little recesses for them so that they don't show through the cloth on the front. Then the Calico gets glued over the top of that.
Putting on the new spine
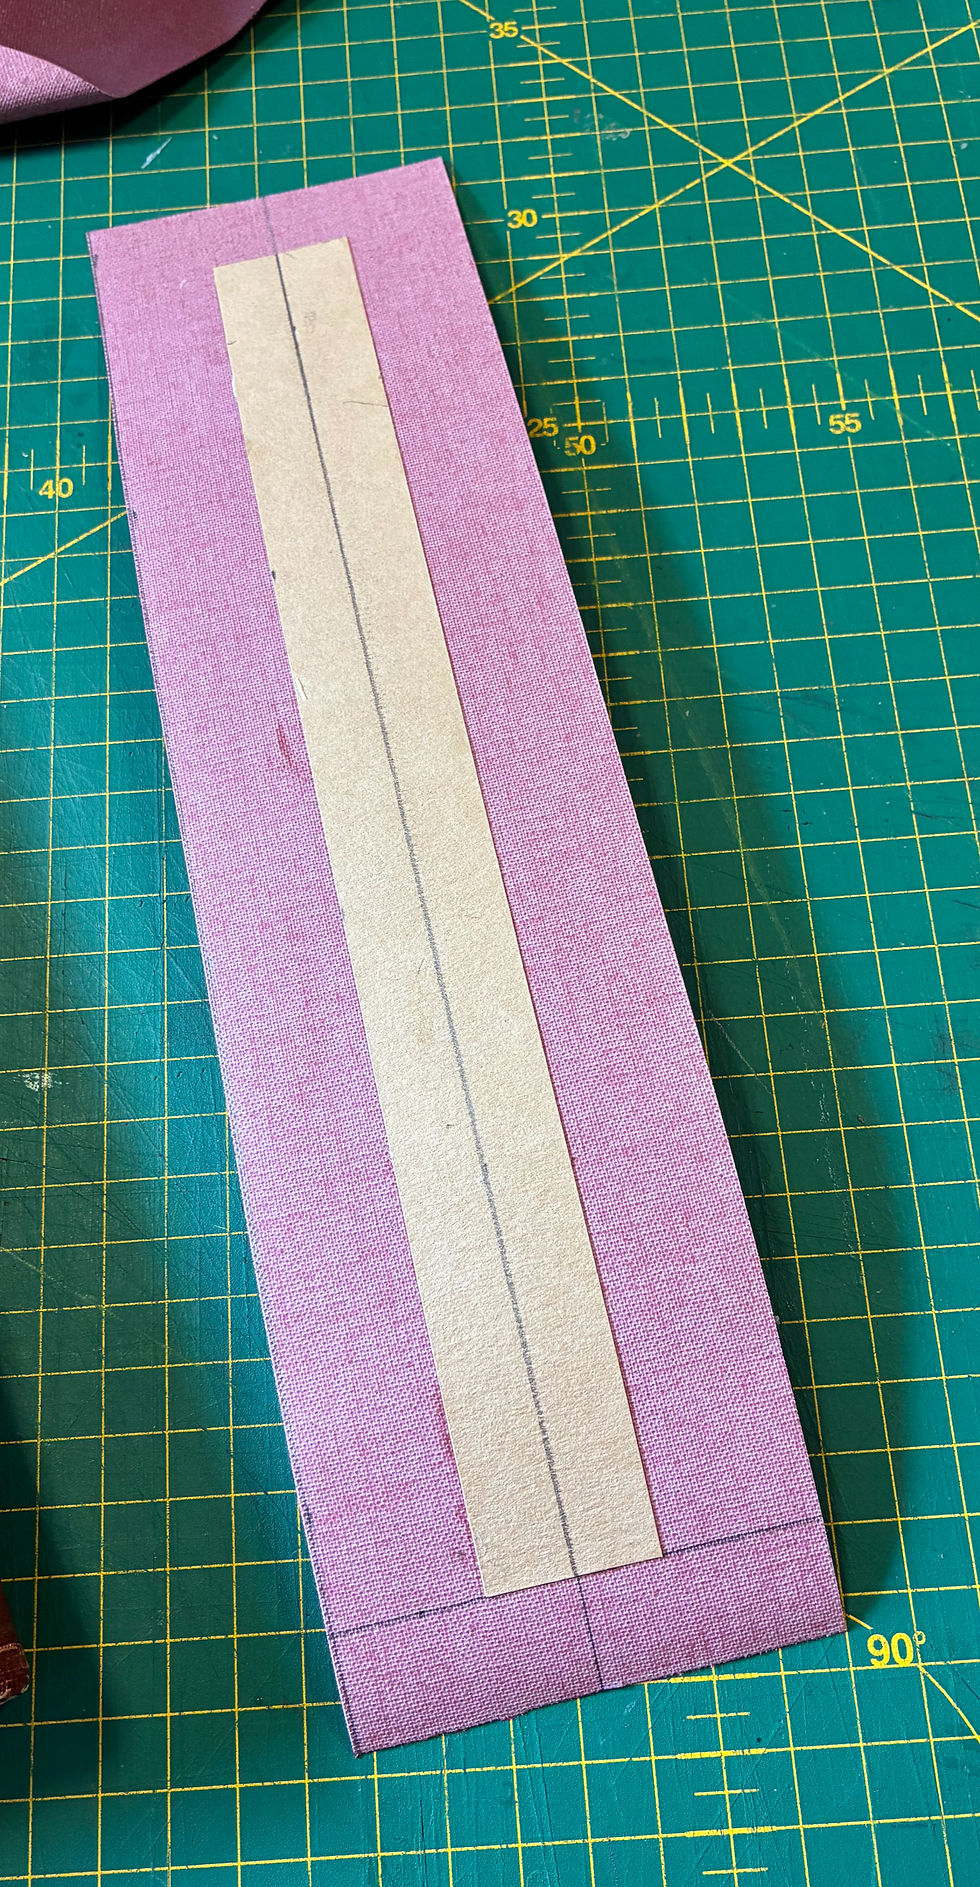
A new spine is made out of as close to matching cloth as possible. It is tricky to match colours as often the spine has faded whilst the boards have been protected by books either side on the shelf. I try to match colour, thickness, weave and finish but it is very hard to find a perfect match. A new spine stiffener is applied before the spine is reattached over the book block, but only stuck to the boards to create a hollow back. The turn-ins are then done at each end so that the book now has a new spine.
Repairing the inside hinge and putting old spine on

Sometimes it is only necessary to put new Japanese paper down the internal hinge and stain it down. In this case, there was already some damage and so I have used a new strip of similarly coloured bible paper.
This can make the first fly leaf a little stiff, but it makes sure there is a good strong hinge so it is worth the extra stiffness.
It is important to get the grain of the new hinge running head to tail.
Final stage
Finally the old spine is put back on. All of the extra work on the spine adds just a little more bulk so there is usually a slight gap between the cover and the spine. I sometimes stain down the cloth but in this case, I thought that staining ran the risk of looking more obvious than leaving it as it is.
How long did it all take?
The first two signatures of this book were out and so needed sewing back in again and backing. To remove the covers, strip back the spine and back and reattach the first two signatures took 2 hours.
Paring back the covers and making a new spine took an hour and a half
Putting the new spine on and doing the turn-ins took just under an hour
Finally, putting the old spine on and finishing took about half an hour.
So in total, this repair took 5 hours. I charge £20 an hour which includes materials etc. so this would be around £100.
Most books are not worth that in monetary value but have huge sentimental value to people which is why we take so much care in repairs.


Comments